


Time to make sourdough!


You got sourdough starter! Yay! Listen, I promise I am going to keep sourdough starter so simple you’ll be able to search any recipe and get right to it!
Let’s start with the basics:
What to do when your starter arrives.
Inspect the starter. If it has a layer of liquid or has a little hardened clumps in it, that’s normal and OK! If it just looks like liquid, that’s ok, too. Fermentation is a form of preservation, so as long as there is no mold, you’re good to go!
Feed your starter before you go to bed the day it arrives, even if you don’t intend to use it the next day. Sourdough starter lasts decades, but since this is just a little bit to start, you will want to feed it and store a larger quantity of it. This is SUPER simple and instructions are below.
If you can’t make bread for a few days, that’s ok! Feed it as instructed below, and instead of making anything with it when it’s ready, put it in an airtight container and store it in the fridge.
How to “feed” your sourdough starter:
When you get a small amount of starter, it’s only about 1oz of liquid. This little mighty fermented flour and water is able to make any sourdough recipe you have been thinking about making.
You’ll need:
-a glass bowl or quart size jar
-1 cup of flour
-a cup of water in a measuring cup (for easy pouring)
1. At 8pm, open your starter jar and pour a little bit of water in it to the bottom of the threading and stir. 2. Then pour into bowl or jar.
3. Add water to the starter jar just under threading and add to the mixture.
4. Repeat step 2, two more times.
5. Stir the water with starter. This is what is referred to as a “slurry”.
6. Add 1 cup of flour. Mix until it looks like a rubbery like paste.
7. Cover with shower cap and place in a warm spot overnight. Ideally somewhere at least 80 degrees F. Mixture should double in size and look bubbly.
What to do when starter is ready:
The next day, your starter is ready to use in any recipe that calls for “active sourdough starter”.
I am going to direct you to my friend Lisa, who has a LOT of sourdough recipes over on her website. Her Sourdough Sandwich Bread Recipe is the one you see me making on “bread before bed” over on instagram.
My Sourdough Bread Recipe (no scale required):
makes two loaves – 15 min prep – cook time 33 minutes – additional time 4.5 hours
TOOLS YOU WILL NEED:
Two bread baskets
bench scraper
parchment paper
large dutch oven with lid
bread lame or very sharp paring knife
INGREDIENTS:
LB’s Sourdough starter that was fed
4 cups water
2 tablespoons salt
9 cups flour
INSTRUCTIONS:
1. In a large glass bowl, pour all the bubbly starter from the night before into a bowl. Do NOT scrape the jar, but instead set it to the side for now.
2. Add water, stir to make “slurry” (aka cloudy starter water).
3. Add salt and stir.
4. Add flour, mix until all combined. Dough will feel tough and a little tiring on the hands.
5. Cover and let it rest in a warm place for 30 minutes.
6. Grab the starter jar with left over starter in it and pour in ¾ cup water and stir/shake to make slurry. 7. Add 1 cup of flour, mix, cover and store in warm place overnight to get bubbly and ready for another batch of sourdough treats! This is how you’ll always have your starter going.
8. Pull up on an outer edge of the dough, and fold it over toward the center. Repeat until every edge has been folded over.
9. cover and let it rest somewhere warm for 90 minutes
10. Repeat number 7.
11. Repeat number 8.
12. Pour dough onto counter and cut in half with bench scraper, set one half to the side.
13. Stretch dough into a 18×10 inch rectangle, then fold ⅓ of toward the center long wise, then the other side on top, like folding a hand towel in thirds.
14. From the bottom, begin rolling dough away from you until it ends, then pull the ball toward you so it becomes smooth like a ball. Cover with hand towel then repeat with the other half of the dough.
15. Let two loaves rest for 20 minutes then repeat step 12 but a smaller rectangle size. (about 10×5 inches).
16. Put loaves in baskets, cover and refrigerate for 90 minutes or overnight. These loaves are ready to bake after refrigerated.
17. Preheat oven to 450 degrees F.
18. Place dutch oven inside oven for 5 minutes to preheat.
19. Get a loaf from the fridge and empty basket onto a piece of parchment paper.
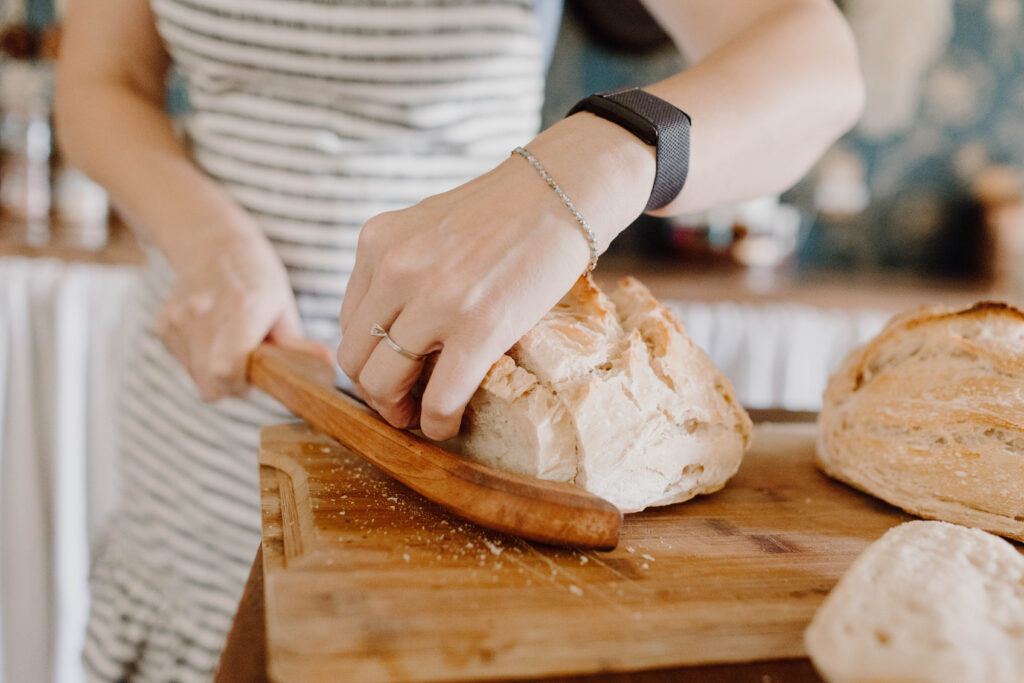
20. Score the bread from top to bottom in the center, then across. There’s no rules here, you just need to score it so steam can escape bread. You can YouTube all kinds of fancy scoring designs.
21. Place bread inside dutch oven and bake with lid on for 25 minutes.
22. After 25 minutes, remove lid and bake for 8 minutes or until top is as golden brown as you prefer!
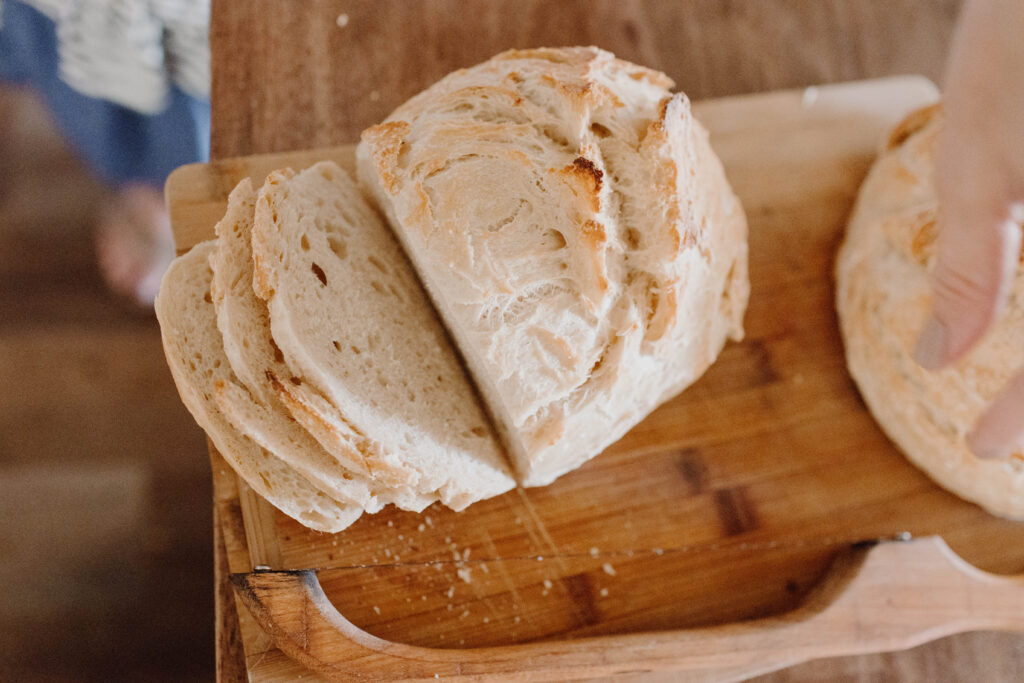
23. Remove bread and let cool for 15 minutes before cutting. If you can wait 😉
24. Slice and serve with butter along side any meal of choice!
25. Repeat with the second loaf.
26. Store bread in ziplock bacg or beeswax bread bag
Here’s my YouTube video if you’d like to see sourdough in action!
Tips for Sourdough Starter:
-When you get your starter, feed it before bed the day it arrives. Even if you don’t plan on making bread thenext day.
-You only need an ounce of starter to make a new batch of active sourdough! a blob the size of a strawberry is all you need, then add ¾ cup water and 1 cup flour.
-Do this over and over and over and over!
-Share some starter with a friend!
-You can store starter in the fridge for a couple months without having to feed it. Just scrape off some of the hardened top, even if it’s a little grey, and grab a little from the bottom to feed it.
-After you feed your starter, put it in a warm place to activate.
-If you don’t get a good bubbly starter, grab a little portion, add ¾ cup water + 1 cup flour and try again…mild heat is a starter’s best friend.
Enjoy and follow along on Instagram for more sourdough tips & tricks! https://www.instagram.com/leslie__burris/

xo LB

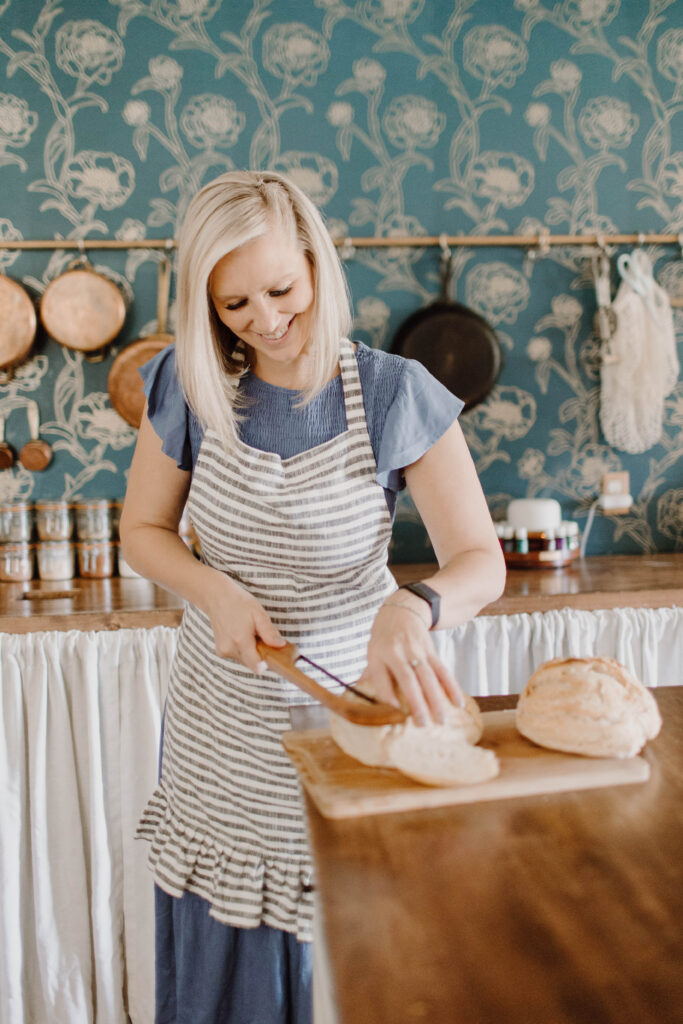
hi there!
I’m Leslie.
I know how it feels to let worry consume you. My life is a classic redemption story, which I share openly with you on my Instagram and here on my blog. I experience true peace, and I want to help you experience it too.
Keep Reading
PREVIOUS POST
NEXT POST


